'%3e%3cpath%20d='M21.97,16.783C18.592,14.338%2014.595,14.954%2012,17.1C11.344,16.628%2010.011,15.91%209.895,15.621C9.48,14.59%207.341,14.568%207.01,14.882C6.812,15.07%206.83,15.344%206.553,15.331C4.832,15.252%203.708,15.794%201.993,16.774'%20style='fill:none;fill-rule:nonzero;stroke:%2310b981;stroke-width:1.14px;'/%3e%3c/g%3e%3cg%20transform='matrix(1,0,0,2.04091,-14.1682,-22.4853)'%3e%3cpath%20d='M15.074,18.836L15.074,17.423'%20style='fill:none;stroke:%2310b981;stroke-width:0.62px;stroke-linecap:square;stroke-miterlimit:1.5;'/%3e%3c/g%3e%3cg%20transform='matrix(1,0,0,2.04091,6.00754,-22.5274)'%3e%3cpath%20d='M15.074,18.863L15.074,17.423'%20style='fill:none;stroke:%2310b981;stroke-width:0.62px;stroke-linecap:square;stroke-miterlimit:1.5;'/%3e%3c/g%3e%3cg%20transform='matrix(1,0,0,1.10679,-1,-3.20585)'%3e%3cpath%20d='M2,5.5C5.5,3.5%209.5,4%2012,5.8C14.5,4%2018.5,3.5%2022,5.5L22,16.8C18.5,14.8%2014.5,15.3%2012,17.1C9.5,15.3%205.5,14.8%202,16.8L2,5.5Z'%20style='fill:none;fill-rule:nonzero;stroke:%236ee7b7;stroke-width:1.14px;'/%3e%3c/g%3e%3cg%20transform='matrix(1,0,0,1.026,-1,-2.90714)'%3e%3cpath%20d='M12,5.8L12,17.1'%20style='fill:none;fill-rule:nonzero;stroke:%236ee7b7;stroke-width:1.2px;'/%3e%3c/g%3e%3cg%20transform='matrix(0.868549,0,0,1.12022,1.58071,-2.86274)'%3e%3cpath%20d='M8,15.6L8,19.8L6.5,18.5L5,19.8L5,15.6'%20style='fill:none;fill-rule:nonzero;stroke:%236ee7b7;stroke-width:1.2px;'/%3e%3c/g%3e%3cg%20transform='matrix(1,0,0,1,-1,-3.75633)'%3e%3cpath%20d='M5,9C6.467,8.4%207.967,8.5%209.5,9.3'%20style='fill:none;fill-rule:nonzero;stroke:%236ee7b7;stroke-width:1.2px;'/%3e%3c/g%3e%3cg%20transform='matrix(1,0,0,1,-1,-3.75633)'%3e%3cpath%20d='M5,12C6.333,11.467%208.119,11.635%209.119,12.235'%20style='fill:none;fill-rule:nonzero;stroke:%236ee7b7;stroke-width:1.2px;'/%3e%3c/g%3e%3cg%20transform='matrix(0.988254,-0.152823,0.152823,0.988254,6.85356,-2.53705)'%3e%3cpath%20d='M5,12C6.333,11.467%208.119,11.635%209.119,12.235'%20style='fill:none;fill-rule:nonzero;stroke:%236ee7b7;stroke-width:1.2px;'/%3e%3c/g%3e%3cg%20transform='matrix(1,0,0,1,-1,-3.75633)'%3e%3cpath%20d='M14.5,9.3C16.033,8.5%2017.533,8.4%2019,9'%20style='fill:none;fill-rule:nonzero;stroke:%236ee7b7;stroke-width:1.2px;'/%3e%3c/g%3e%3cg%20transform='matrix(1,0,0,1,-1,2.24367)'%3e%3cpath%20d='M5,9C6.467,8.4%207.967,8.5%209.5,9.3'%20style='fill:none;fill-rule:nonzero;stroke:%236ee7b7;stroke-width:1.2px;'/%3e%3c/g%3e%3cg%20transform='matrix(0.999988,0.00496871,-0.00496871,0.999988,-0.955288,2.16055)'%3e%3cpath%20d='M14.5,9.3C16.033,8.5%2017.533,8.4%2019,9'%20style='fill:none;fill-rule:nonzero;stroke:%236ee7b7;stroke-width:1.2px;'/%3e%3c/g%3e%3c/svg%3e)
Explanation
In this , one side has a king, rook, and knight, while the other has a king and rook. It is normally drawn because the stronger side cannot usually force the opposing king into a trap. Winning positions do exist when the defending king is badly placed near a corner or the rook becomes vulnerable.
The attacking rook and knight must coordinate. The rook restricts horizontal rows and vertical columns, the knight controls squares the rook cannot reach, and the king approaches to reduce space. Knight checks are especially useful because the king cannot capture a protected knight, and the defending rook may be attacked at the same time.
The defender tries to keep the king away from a dangerous corner and use the rook actively for checks from a distance. Double attacks by the knight also require constant attention. A jump that checks the king while attacking the rook can turn a drawn position into a loss immediately.
The rook keeps its distance
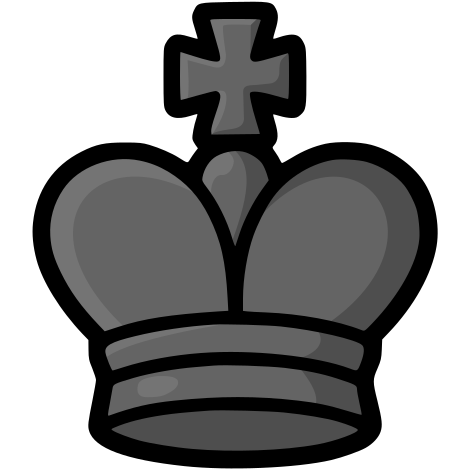
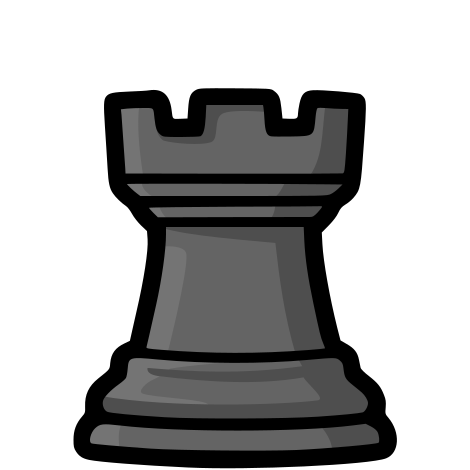
King space and distant checks
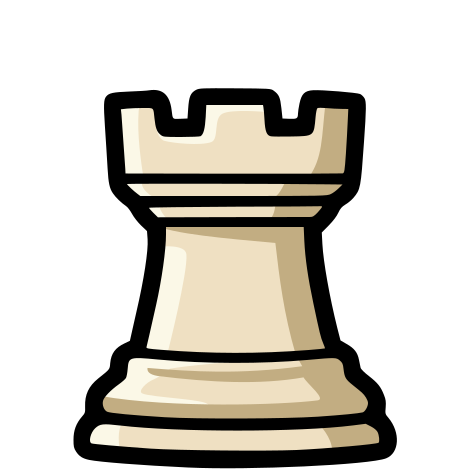
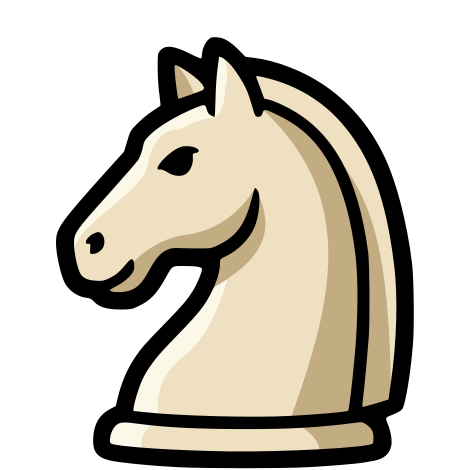
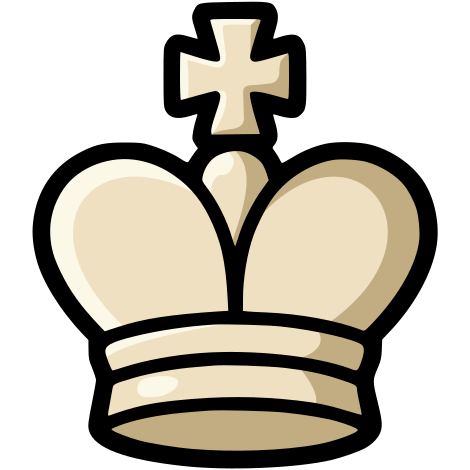
The black king stands on and the rook on , with room around the king and an open line for distant checks. The white knight on does not attack , the candidate square for the next check.
The belief that this ending is an easy draw is misleading. Passive defense may let the king become boxed in and deprive the rook of checking squares. Tablebases are databases that exhaustively calculate endings with few pieces. They confirm that a draw is normal while also identifying concrete winning exceptions.
Compared with the , the knight controls less long-range space but creates jumping checks and double attacks that demand a different kind of vigilance.
Common confusions
It is an automatic draw
The general verdict does not prevent losses caused by a trapped king, a double attack, or a misplaced rook.
It is defended like the bishop ending
The knight creates jumping checks and double attacks, so the critical squares and tactical dangers differ.
Sources
- 1.Pawnless chess endgame, Wikipedia contributors
- 2.Rook and knight in harmony, ChessBase
- 3.Sometimes a good team: rook and knight, ChessBase