'%3e%3cpath%20d='M21.97,16.783C18.592,14.338%2014.595,14.954%2012,17.1C11.344,16.628%2010.011,15.91%209.895,15.621C9.48,14.59%207.341,14.568%207.01,14.882C6.812,15.07%206.83,15.344%206.553,15.331C4.832,15.252%203.708,15.794%201.993,16.774'%20style='fill:none;fill-rule:nonzero;stroke:%2310b981;stroke-width:1.14px;'/%3e%3c/g%3e%3cg%20transform='matrix(1,0,0,2.04091,-14.1682,-22.4853)'%3e%3cpath%20d='M15.074,18.836L15.074,17.423'%20style='fill:none;stroke:%2310b981;stroke-width:0.62px;stroke-linecap:square;stroke-miterlimit:1.5;'/%3e%3c/g%3e%3cg%20transform='matrix(1,0,0,2.04091,6.00754,-22.5274)'%3e%3cpath%20d='M15.074,18.863L15.074,17.423'%20style='fill:none;stroke:%2310b981;stroke-width:0.62px;stroke-linecap:square;stroke-miterlimit:1.5;'/%3e%3c/g%3e%3cg%20transform='matrix(1,0,0,1.10679,-1,-3.20585)'%3e%3cpath%20d='M2,5.5C5.5,3.5%209.5,4%2012,5.8C14.5,4%2018.5,3.5%2022,5.5L22,16.8C18.5,14.8%2014.5,15.3%2012,17.1C9.5,15.3%205.5,14.8%202,16.8L2,5.5Z'%20style='fill:none;fill-rule:nonzero;stroke:%236ee7b7;stroke-width:1.14px;'/%3e%3c/g%3e%3cg%20transform='matrix(1,0,0,1.026,-1,-2.90714)'%3e%3cpath%20d='M12,5.8L12,17.1'%20style='fill:none;fill-rule:nonzero;stroke:%236ee7b7;stroke-width:1.2px;'/%3e%3c/g%3e%3cg%20transform='matrix(0.868549,0,0,1.12022,1.58071,-2.86274)'%3e%3cpath%20d='M8,15.6L8,19.8L6.5,18.5L5,19.8L5,15.6'%20style='fill:none;fill-rule:nonzero;stroke:%236ee7b7;stroke-width:1.2px;'/%3e%3c/g%3e%3cg%20transform='matrix(1,0,0,1,-1,-3.75633)'%3e%3cpath%20d='M5,9C6.467,8.4%207.967,8.5%209.5,9.3'%20style='fill:none;fill-rule:nonzero;stroke:%236ee7b7;stroke-width:1.2px;'/%3e%3c/g%3e%3cg%20transform='matrix(1,0,0,1,-1,-3.75633)'%3e%3cpath%20d='M5,12C6.333,11.467%208.119,11.635%209.119,12.235'%20style='fill:none;fill-rule:nonzero;stroke:%236ee7b7;stroke-width:1.2px;'/%3e%3c/g%3e%3cg%20transform='matrix(0.988254,-0.152823,0.152823,0.988254,6.85356,-2.53705)'%3e%3cpath%20d='M5,12C6.333,11.467%208.119,11.635%209.119,12.235'%20style='fill:none;fill-rule:nonzero;stroke:%236ee7b7;stroke-width:1.2px;'/%3e%3c/g%3e%3cg%20transform='matrix(1,0,0,1,-1,-3.75633)'%3e%3cpath%20d='M14.5,9.3C16.033,8.5%2017.533,8.4%2019,9'%20style='fill:none;fill-rule:nonzero;stroke:%236ee7b7;stroke-width:1.2px;'/%3e%3c/g%3e%3cg%20transform='matrix(1,0,0,1,-1,2.24367)'%3e%3cpath%20d='M5,9C6.467,8.4%207.967,8.5%209.5,9.3'%20style='fill:none;fill-rule:nonzero;stroke:%236ee7b7;stroke-width:1.2px;'/%3e%3c/g%3e%3cg%20transform='matrix(0.999988,0.00496871,-0.00496871,0.999988,-0.955288,2.16055)'%3e%3cpath%20d='M14.5,9.3C16.033,8.5%2017.533,8.4%2019,9'%20style='fill:none;fill-rule:nonzero;stroke:%236ee7b7;stroke-width:1.2px;'/%3e%3c/g%3e%3c/svg%3e)
Explanation
The pattern usually appears against a castled king, meaning a king that has completed , the joint move of the king and one rook. In Pillsbury's mate , a rook gives the final check on an open file, a vertical line with no pawns interrupting its attack. A bishop controls the corner square to which the king would otherwise escape.
The defender's own pieces or pawns usually occupy the remaining exits. The rook does not have to stand next to the king: its attack line must be clear, and the bishop must close the corner. If a piece can interpose, capture the rook, or free a safe square, the position is not mate.
File check, closed corner

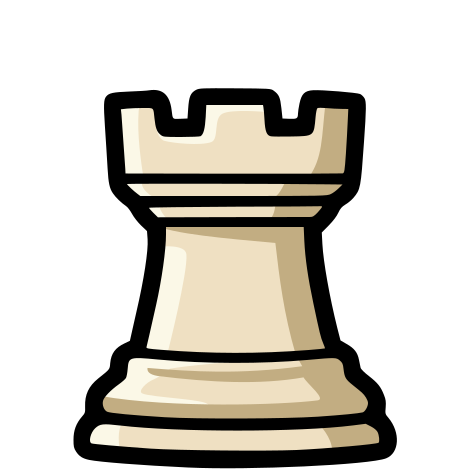
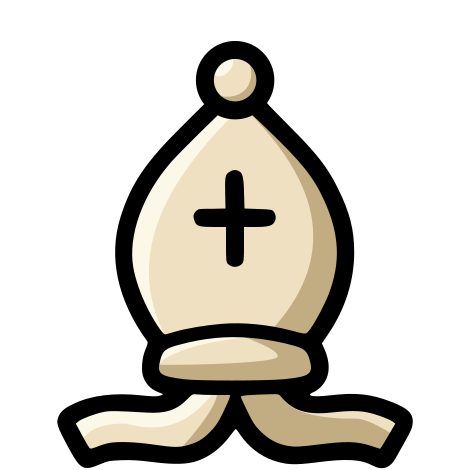

The rook attacks and the bishop denies the corner
The roles are separate: the rook checks on an open file, the bishop closes the corner, and the black pieces seal the remaining squares.
To recognize the pattern, separate three jobs: the rook attacks on the file, the bishop controls the corner, and defending pieces block the rest. Compare , whose central picture is a rook beside the king directly protected by a distant bishop.
Common confusions
Mayet's mate
In Mayet's mate, a distant bishop directly protects the rook beside the king. In Pillsbury's mate, the bishop controls the corner while the rook attacks on an open file.
Sources
- 1.The Complete Checkmate Patterns List [with examples], ChessMood
- 2.Checkmate pattern, Wikipedia contributors